Blog
This is a private homepage... ;)
I arrived in Amsterdam

I arrived in the Netherlands on friday. I am visiting my brother in Leiden which is about 40 Km away from Amsterdam. Today I went to that wonderful city. I were there some times already in the past but it is some years ago. Now I have enough time to explore this area. I just were there for about 3 hours because I am very tired in the last days. I will go there sometimes again in the next few weeks... I am impressed! ;)
The Moon
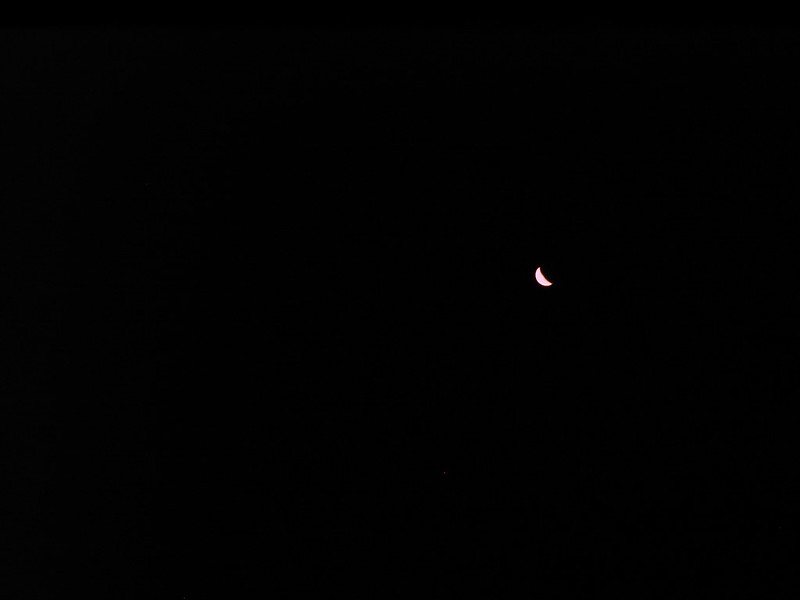
A photograph of the Moon over Sylt taken with my oldschool IXUS 430... I love it, I love this cam... ;)
New Leo Search version released
 I updated my Firefox extension for searching the Leo.org database some minutes ago. I added no new features, just made it compatible to the newest versions of Firefox.
You will find the Download here. In some days it will be available at https://addons.mozilla.org/en-US/firefox/addon/leo-search/.
Have fun... ;)
Evaluating DS1626
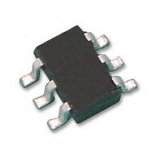 I got some samples from MAXIM some few days ago. Since I was busy studying other stuff I had no time to give them a try. Today I tried the DS1626 Temperature Sensor.
It was very easy to setup in the Arduino environment using the SoftwareSerial library. One problem I had was, that I was not able to write the temperture to my LCD display. I could not figure out why this happens. The LCD code didn't worked anymore when including the SoftwareSerial header without using any functions of it...
Another problem for me was, that the DS1626 is being delivered in a SOP8 package and I for the first time needed to solder SMD. I used an adapter for SOP28 to DIP28 conversion because I wanted to place the IC on my breadboard. I soldered it successful and it worked right out of the box... ;)
PC/SC for PHP officially released on the PECL platform
 I am lucky to say, that my PHP extension for using Smart Cards based on the winscard API was successful released on pecl.php.net. It is designed for the use with the wonderful project PCSC-Lite for *nix. Since PCSC-Lite is implementing the API compatible to the PC/SC standard it should be possible to compile this code on other operating systems too.
I have created this extension in 2010 but needed to clean it up and do some long term tests. It runs nicely on some machines and now you are able to do Smart Card terminal prototyping using PHP. I am using this extension to run Smart Card devices on the server side for enabling communication with Secure Application Modules (SAM) / Hardware Security Modules (HSM).
The name of the extension is "pcsc". There is only a small subset of the API implemented but for most things this is enough. I will implement the full API at any time.
More information:
To checkout the code you need to execute the following command:
svn checkout http://svn.php.net/repository/pecl/pcsc/trunk pcsc
Thanks to the PHP developers who helped me doing this step and for commenting my code.